 |


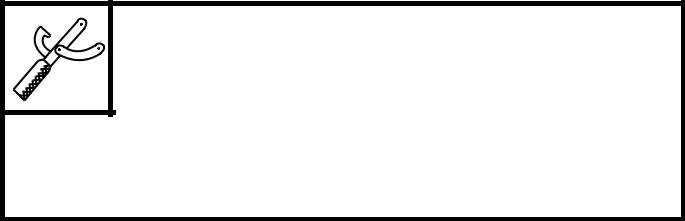
Valve spring free length (intake and exhaust)
|
|
|
|
35.59 mm (1.40 in) <Limit>: 33.81 mm (1.33 in)
● Measure:
• compressed spring force a
Out of specification → Replace the valve
spring.
b Installed length

Compressed spring force Intake valve spring
91.2 ~ 104.9 N at 30.4 mm
(9.3 ~ 10.7 kg at 30.4 mm,
20.5 ~ 23.6 lb at 1.20 in) Exhaust valve spring
91.2 ~ 104.9 N at 30.4 mm
(9.3 ~ 10.7 kg at 30.4 mm,
20.5 ~ 23.6 lb at 1.20 in)
5 - 26
 VALVES AND VALVE SPRINGS ENG
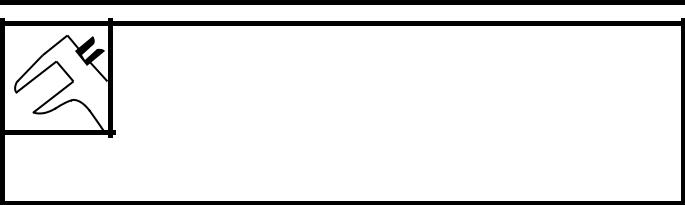
7. Measure:
• valve spring tilt a
Out of specification → Replace the valve spring.

Maximum spring tilt Intake valve spring
Mm (0.06 in) Exhaust valve spring
Mm (0.06 in)
EAS00242
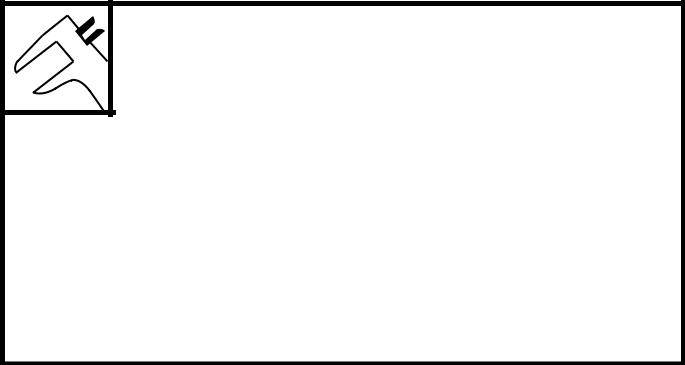
CHECKING THE VALVE LIFTERS
The following procedure applies to all of the valve lifters.

• Check:
valve lifter
Damage/scratches → Replace the valve lift-ers and cylinder head.
EAS00245
INSTALLING THE VALVES

The following procedure applies to all of the valves and related components.
6. Deburr:
• valve stem end (with an oil stone)
7. Lubricate:
• valve stem 1
• valve stem seal 2
(with the recommended lubricant)

Recommended lubricant
Molybdenum disulfide oil
5 - 27
VALVES AND VALVE SPRINGS ENG
3. Install:

• valve 1
• valve spring seat 2
• valve stem seal 3 New
• valve spring 4
• valve retainer 5
(into the cylinder head)
NOTE:

• Make sure that each valve is installed in its original place.
• Install the valve spring with the larger pitch a facing up.

b Smaller pitch
4. Install:

• valve cotters 1
NOTE:
Install the valve cotters by compressing the valve spring with the valve spring compressor 2 and valve spring compressor attachment
3.

Valve spring compressor 90890-04019, YM-04019
Valve spring compressor attach-ment
YM-04114
5. To secure the valve cotters onto the valve stem, lightly tap the valve tip with a soft-face hammer.

CAUTION:

Hitting the valve tip with excessive force could damage the valve.
5 - 28
VALVES AND VALVE SPRINGS ENG
7. Lubricate:
• valve pad
(with the recommended lubricant)

Recommended lubricant
Molybdenum disulfide oil
• Install:
valve pad
valve lifter
CAUTION:
After making sure that the valve pads are fully inserted, install the valve lifter taking care so that the pads do not fall.
NOTE:
|
|
|
• The valve lifter must move smoothly when rotated with a finger.
• Each valve lifter and valve pad must be rein-stalled in its original position.
5 - 29
CYLINDER AND PISTON ENG
CYLINDER AND PISTON

| Order | Job/Part | Q’ty | Remarks | ||
| Removing the cylinder and piston | Remove the parts in the order listed. | ||||
| Cylinder head | Refer to “CYLINDER HEAD”. | ||||
| Timing chain guide (exhaust side) | |||||
| Cylinder | |||||
| Cylinder gasket | |||||
| Dowel pin | |||||
| Piston pin clip | Refer to “REMOVING THE CYLINDERS | ||||
| Piston pin | |||||
| AND PISTONS” and “INSTALLING THE | |||||
| Piston | |||||
| PISTONS AND CYLINDERS”. | |||||
| Piston ring set | |||||
| For installation, reverse the removal pro- | |||||
| cedure. | |||||
5 - 30
CYLINDER AND PISTON ENG
REMOVING THE CYLINDERS AND

PISTONS
The following procedure applies to all of the pistons.
19 Remove:
piston pin clip 1
piston pin 2
piston 3
CAUTION:
Do not use a hammer to drive the piston pin out.

NOTE:
25 Before removing the piston pin clip, cover the crankcase opening with a clean rag to pre-vent the piston pin clip from falling into the crankcase.
26 Before removing the piston pin, deburr the piston pin clip’s groove and the piston’s pin bore area. If both areas are deburred and the piston pin is still difficult to remove, remove it with the piston pin puller 4.

Piston pin puller set 90890-01304, YU-01304
R Remove:
top ring
2nd ring
oil ring

NOTE:
When removing a piston ring, open the end gap with your fingers and lift the other side of the ring over the piston crown.
5 - 31
CYLINDER AND PISTON ENG
EAS00256
CHECKING THE CYLINDERS AND
PISTONS
The following procedure applies to all of the cylinders and pistons.
CC Check:
piston wall
cylinder wall
Vertical scratches → Rebore or replace the cylinder, and replace the piston and piston rings as a set.
DD Measure:
piston-to-cylinder clearance
▼▼▼▼▼▼▼▼▼▼▼ ▼▼▼▼▼▼▼▼▼ ▼▼▼▼▼▼▼▼▼▼▼▼
14. Measure cylinder bore “C” with the cylinder bore gauge.
NOTE:
Measure cylinder bore “C” by taking side-to-side and front-to-back measurements of the cylinder. Then, find the average of the mea-surements.
|
|
|

| Cylinder bore “C” | 66.00 ~ 66.01 mm | |
| (2.5984 ~ 2.5988 in) | ||
| Taper limit “T” | 0.05 mm (0.0020 in) | |
| Out of round “R” | 0.05 mm (0.0020 in) | |
“C” = maximum of D1 ~ D6
“T” = maximum of D1, or D2 – maximum of D5 or D6
“R” = maximum of D1, D3 or D5 – mini-mum of D2, D4 or D6
• If out of specification, rebore or replace the cylinder, and replace the piston and piston rings as a set.
5 - 32
CYLINDER AND PISTON ENG
1 Measure piston skirt diameter “P” with the micrometer.

Micrometers (50 ~ 75 mm) 90890-03008, YU-03008
a 9.0 mm (0.35 in) from the bottom edge of the piston
Piston size “P”
65.965 ~ 65.980 mm
Standard
(2.5970 ~ 2.5976 in)
• If out of specification, replace the piston and piston rings as a set.
• Calculate the piston-to-cylinder clearance with the following formula.
Piston-to-cylinder clearance =
Cylinder bore “C” –
Piston skirt diameter “P”

Piston-to-cylinder clearance 0.020 ~ 0.045 mm
(0.0008 ~ 0.0018 in) <Limit>: 0.15 mm (0.0059 in)
20 If out of specification, rebore or replace the cylinder, and replace the piston and piston
rings as a set.
▲▲▲▲▲▲▲▲▲▲▲ ▲▲▲▲▲▲▲▲▲ ▲▲▲▲▲▲▲▲▲▲▲▲
EAS00263
CHECKING THE PISTON RINGS

10) Measure:
piston ring side clearance
Out of specification → Replace the piston and piston rings as a set.
NOTE:
Before measuring the piston ring side clear-ance, eliminate any carbon deposits from the piston ring grooves and piston rings.
|
|
|
